Sieving analysis is widely used in particle metrology in laboratories all over the world. It is the least expensive particle analysis method. However, one of the largest sources of variation in sieving analysis is the test sieves themselves due to the fact that internationally agreed standards for mesh manufacturing have a small tolerance in the standards (ISO 3310 and ASTM E11). Wire size, average aperture size and uniformity of aperture are specified with a certain set of tolerances in test sieve manufacturing.
Optical microscope is the most common and accurate calibration method at present. A large number of apertures and wires are selected to be measured in warp and weft directions. The distance between wires is measured as aperture size and wire width is measured as wire diameter. Both Glenammer ISO In-House Calibration and IPAC (UKAS Equivalence) Calibration use this method.
Calibrating the test sieves regularly can minimize the analysis errors in the experiments. Glenammer can provide calibration services for brand new test sieves as well as used test sieves.

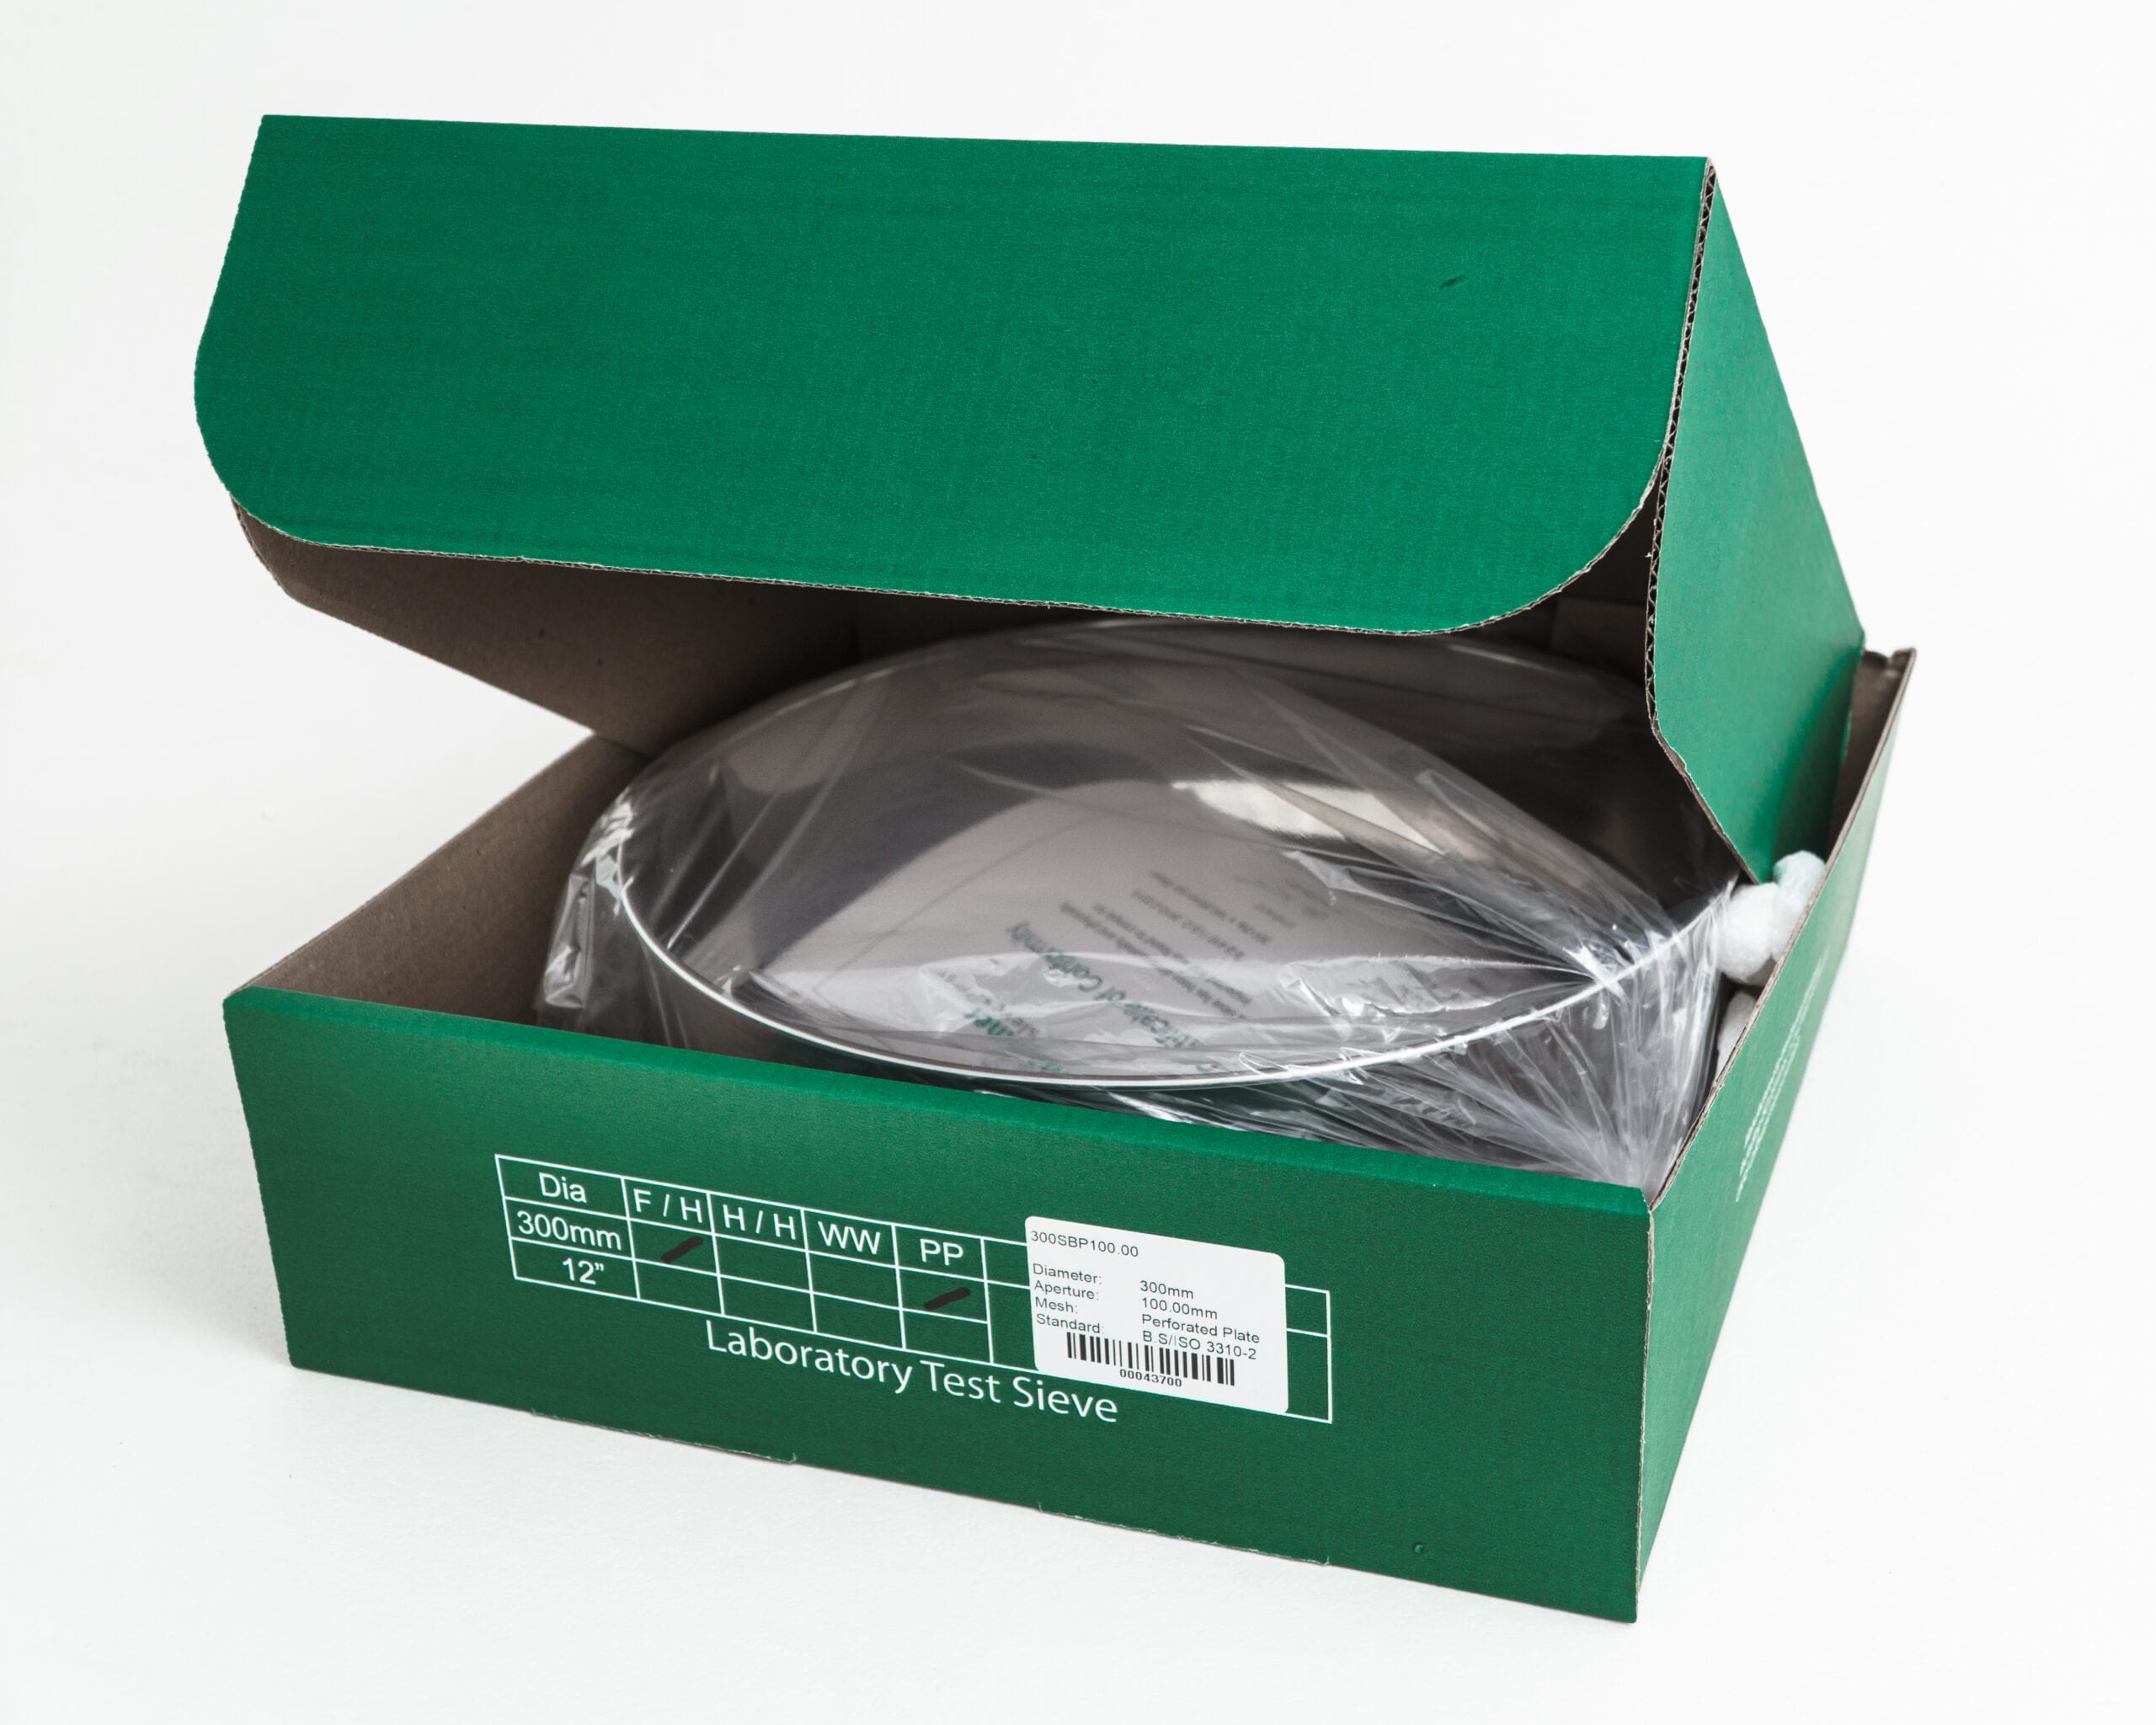
Each Glenammer test sieve is supplied with a certificate of conformity. The certificate indicates that the sieve is manufactured to comply with the specifications set out by the world's most demanding standards: BS 410/ISO 3310 and ASTM E11 amongst others. A unique serial number can be found on the Certificate of Conformity, Record Card and test sieve frame providing tractability.
The permissible variations for test sieve cloth differs between inspection, compliance and calibration test sieves. The tolerance of inspection test sieves is the most stringent. Glenammer sieves are manufactured to the standards required for inspection sieves. Therefore, the highest level of accuracy for particle analysis is guaranteed.
Please fill out our contact form below to stay in touch. By using this form you are opting in to our newsletters.